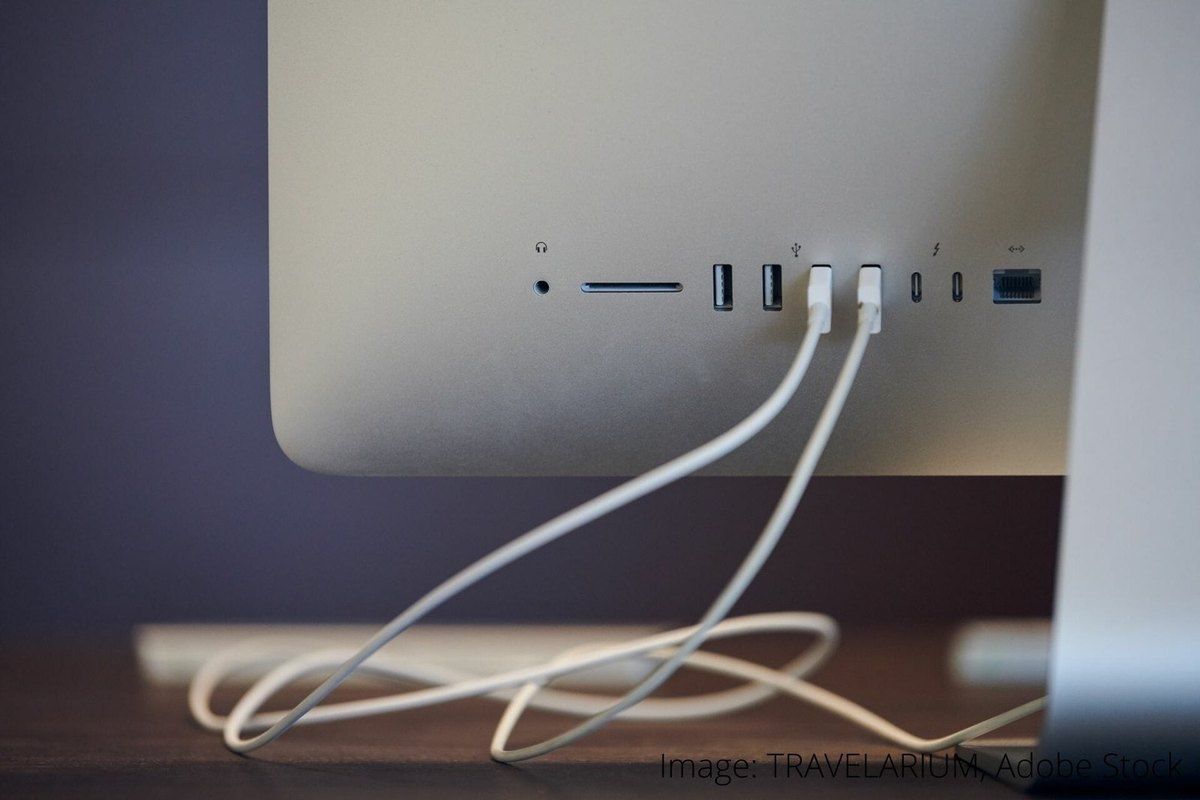
The device is not recognised, the plug goes in stiffly, or the connection drops as soon as you touch the cable. Usually the USB port is to blame: either it is clogged with dust and oxidised, or it is mechanically damaged.
The first case is solved in a few minutes with cleaning. The second needs disassembly and a soldering iron, and should only be tackled with experience. Let us start with the simple fix.
What you will need
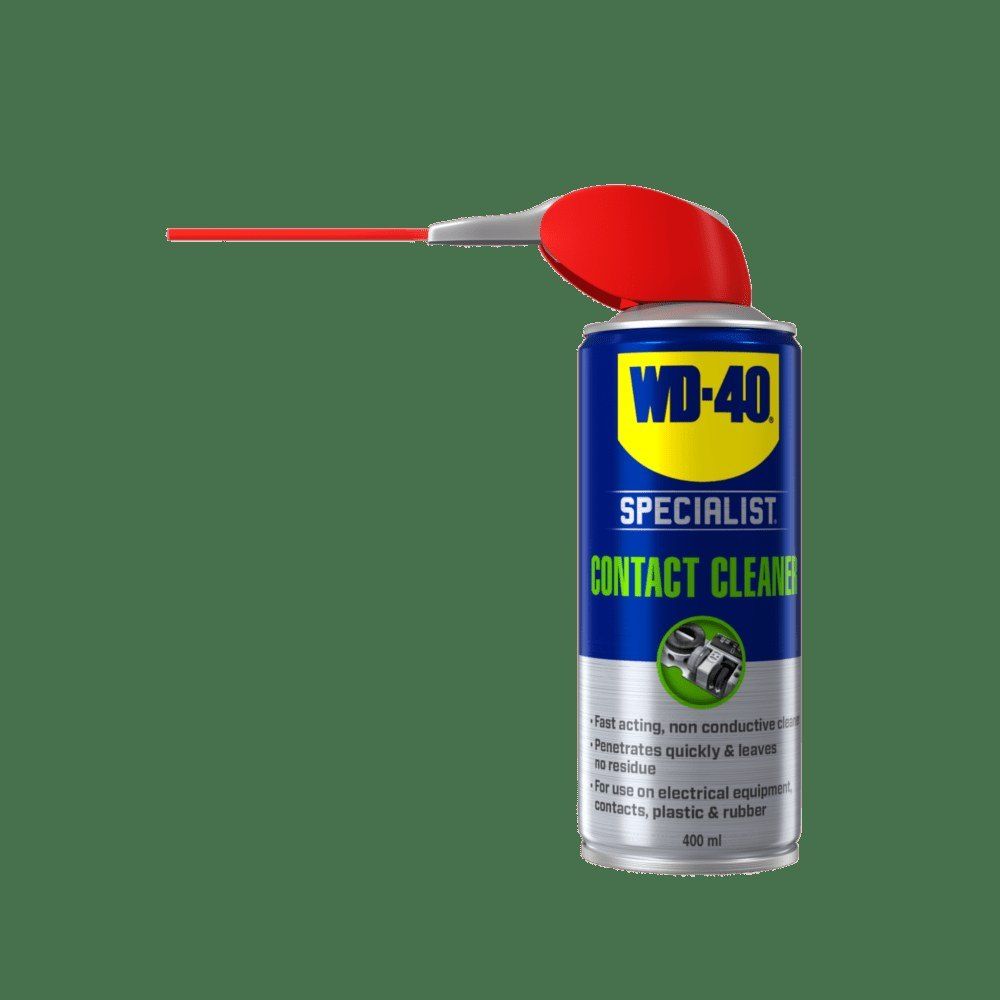
- WD-40 Specialist Contact Cleaner
- a can of compressed air or a vacuum with a narrow nozzle
- a torch, a wooden toothpick
- electronics screwdrivers
- for replacement: a new port of the same type, soldering iron, desoldering pump or braid, solder
Important: Do all work with the device switched off and unplugged, and remove the laptop battery where possible. Never clean a port with metal objects. Opening the device may void the warranty, and soldering on a motherboard requires skill: if you lack it, use a repair service.
Step 1
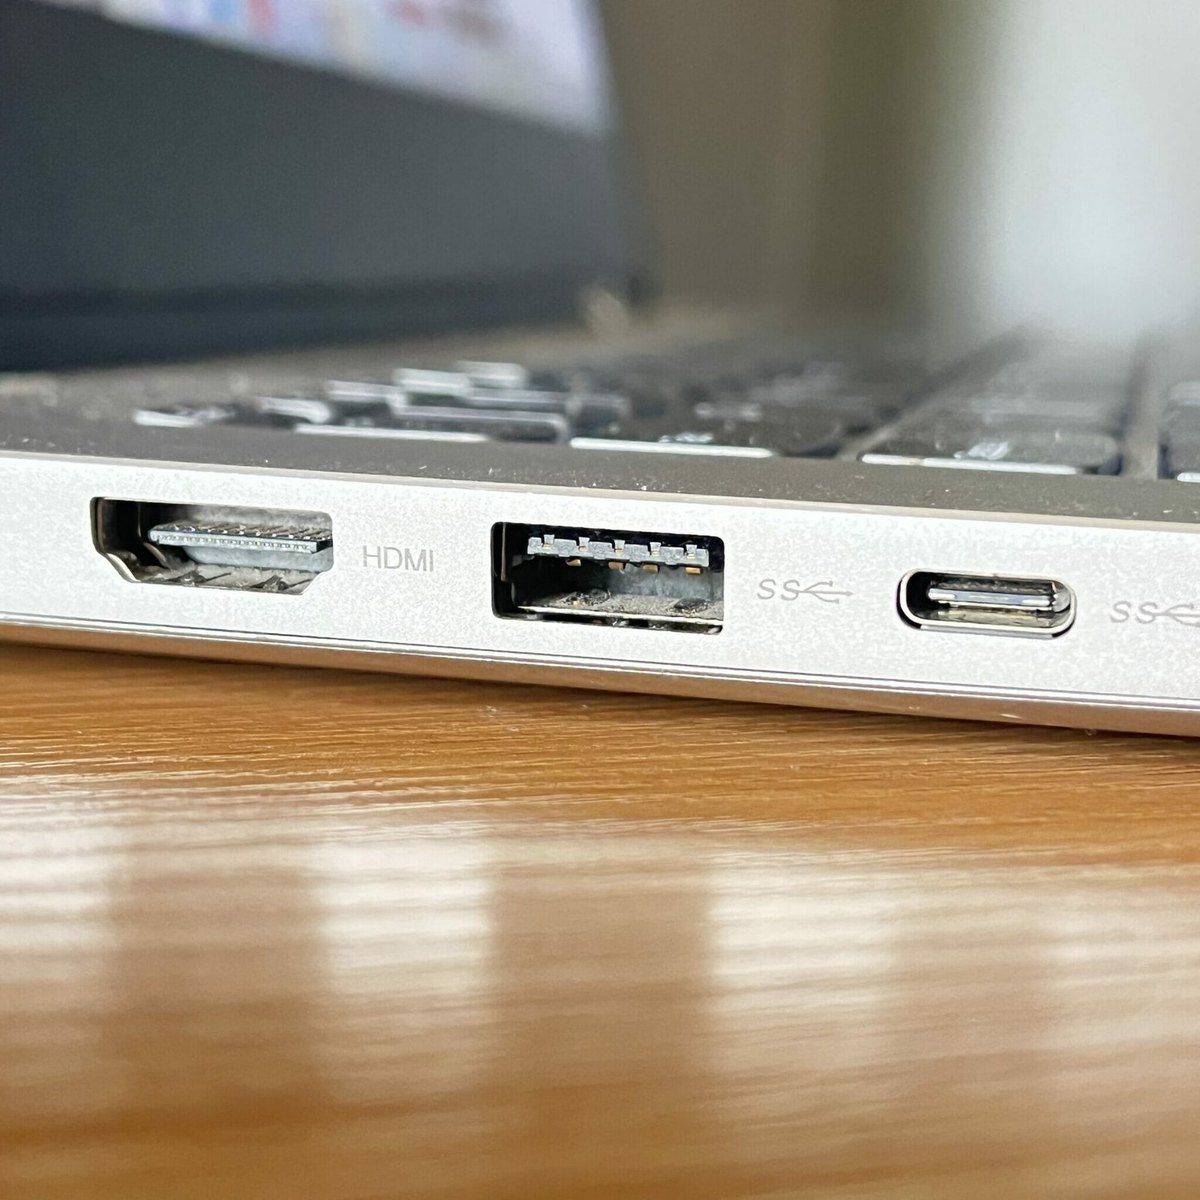
Inspect and blow out the port
Switch off the computer, TV or other device and disconnect the power. Shine a torch into the socket: you will often see dust, pocket lint or even a foreign object.
Blow out the port with short bursts of compressed air, aiming the straw into each corner in turn, or vacuum the dirt out. Gently lift compacted lint with a wooden toothpick without touching the contacts.
Step 2
Clean the contacts
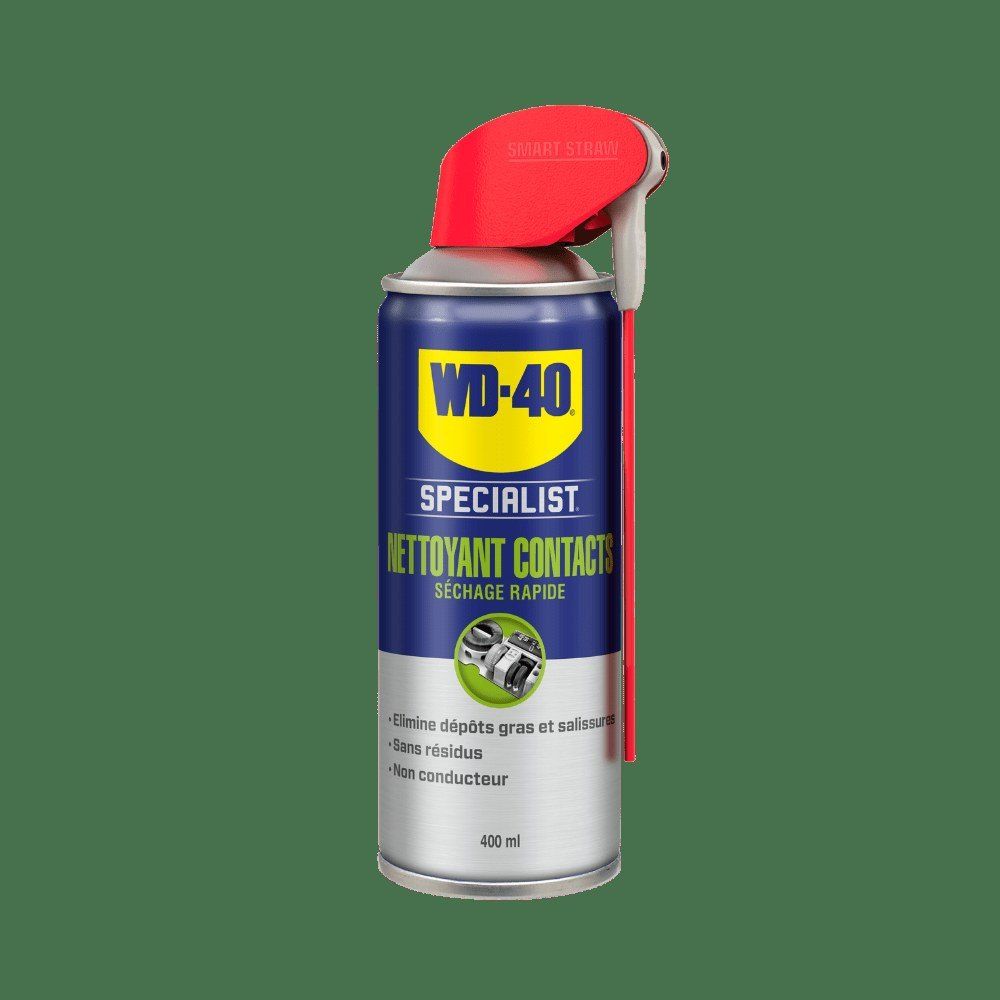
Insert the straw of WD-40 Specialist Contact Cleaner into the port and give a short burst across its full width. It dissolves dirt, grease and oxidation, evaporates quickly without residue and restores contact conductivity.
Treat the plug of the cable or flash drive with the same product: an oxidised plug causes the same symptoms.
Step 3
Test it
Wait until the product has fully evaporated, reconnect the power and switch the device on. Plug in a flash drive or cable you know works. If it is recognised, the problem is solved.
If not, try another cable and another port to rule out a software issue or faulty accessory. If the port wobbles in the casing or the tongue inside is bent, the damage is mechanical.
Step 4
Open the device
Ports usually break when a cable is yanked sideways or a laptop falls with a plug inserted. Disconnect all cables, remove the battery and undo the case screws. Locate the port on the motherboard or a separate USB board; in laptops you will often need to remove the board entirely.
Photograph each stage so you can put everything back correctly.
Step 5
Desolder the damaged port
Get a new port of the same type and dimensions. Heat each joint and remove the solder with a desoldering pump or copper braid, first on the contacts and then on the mounting legs, and lift the old port out without force.
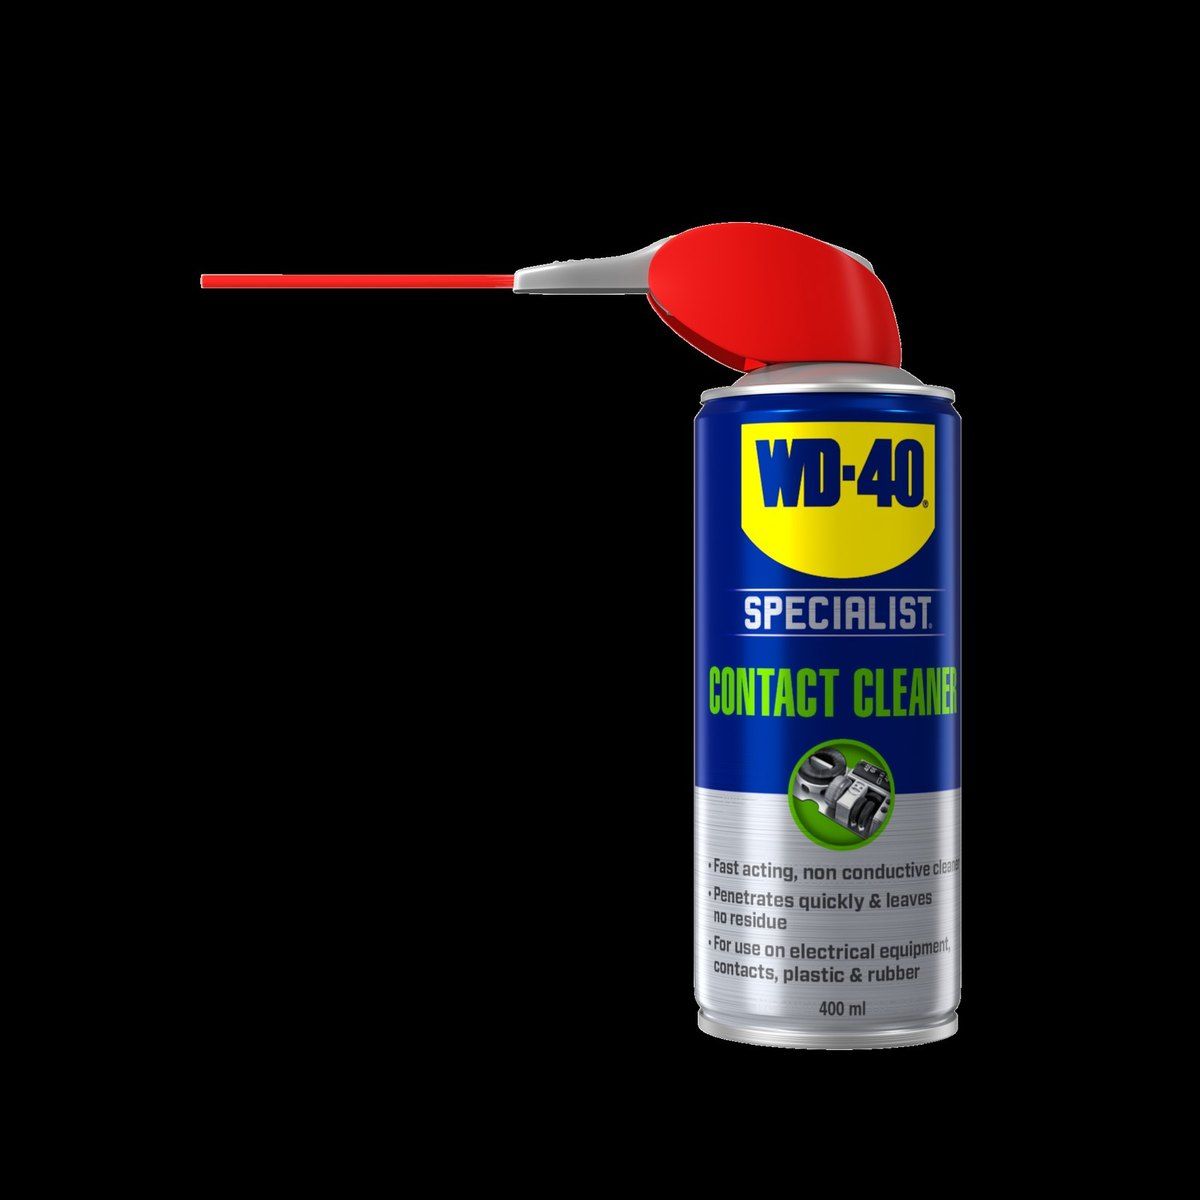
Clean flux residue and dirt from the footprint with WD-40 Specialist Contact Cleaner and let it dry.
Step 6
Solder in the new port
Fit the new port, solder the mounting legs first, then each contact carefully with no solder bridges between them. The same step applies if the port is intact but a joint has cracked: remove the old solder and resolder the contacts.
Once it has cooled, clean the board again with WD-40 Specialist Contact Cleaner, reassemble the device and test the port.
Tip: Pull plugs out straight without wiggling, and do not leave long flash drives or adapters in the port when carrying a laptop: the leverage loosens the socket over time.
What next
Every few months blow out the ports and treat them with contact cleaner, especially in dusty rooms and after winter, when equipment has been brought in from the cold. For cleaning the whole computer and its peripherals, see our separate guide.
These uses come from the experience of WD-40 users in many countries. Always follow the instructions and warnings on the product label.
More guides in «How to use».