Stripes and coloured blocks on screen, a sudden black screen mid-game, restarts under load: these are classic signs of a failing graphics card. The cause may be software (a corrupted video BIOS), or it may be dust, dried thermal paste, oxidised contacts or tired solder joints.
Start with the simplest and safest checks and only take the card apart if software fixes have not helped. If the card is still under warranty, do not open it: doing so voids the warranty, so take it to a service centre instead.
What you will need
- WD-40 Specialist Contact Cleaner
- diagnostic and flashing tools (GPU-Z, NVFlash for NVIDIA, AMD VBFlash for AMD, FurMark for stress testing)
- electronics screwdriver
- soft brush and a can of compressed air
- paper towels, isopropyl alcohol or acetone
- disposable gloves
- fresh thermal paste
- hot air station or soldering station (experienced users only)
Important: Before taking anything apart, shut down the computer, unplug it from the wall and wait a few minutes. Touch the metal case to discharge static and avoid touching the contacts with your fingers.
Step 1
Rule out a software cause
First do a clean reinstall of the graphics driver. If the problem remains, run GPU-Z and save a copy of the current video BIOS: this is your safety net. The same tool shows the exact model and revision of the card.
Only flash a BIOS file that exactly matches your model and comes from the manufacturer's official source. NVFlash is used for NVIDIA cards and AMD VBFlash for AMD. Follow the tool's instructions to the letter, never cut the power while flashing, then restart the PC and run a FurMark stress test.
Step 2
Remove and strip the card carefully
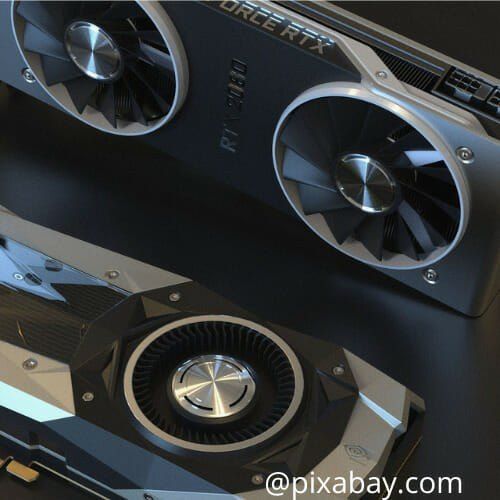
If the artefacts are still there, the fault is hardware. Power down the PC, open the case, disconnect the auxiliary power cables from the card and unscrew it from the rear bracket. Press the PCI Express slot latch and ease the card out evenly, without force.
Lay the card on an antistatic surface and remove the cooler: fans, heatsink with heat pipes and backplate. Take a photo at every stage and keep the screws in order so nothing gets mixed up later.
Step 3
Clean the board and contacts
Remove dust from the heatsink and fans with the brush and compressed air. Hold the fan blades with a finger so the air jet does not spin them. Wipe off the old thermal paste with a paper towel moistened with alcohol or acetone, without scratching the die.
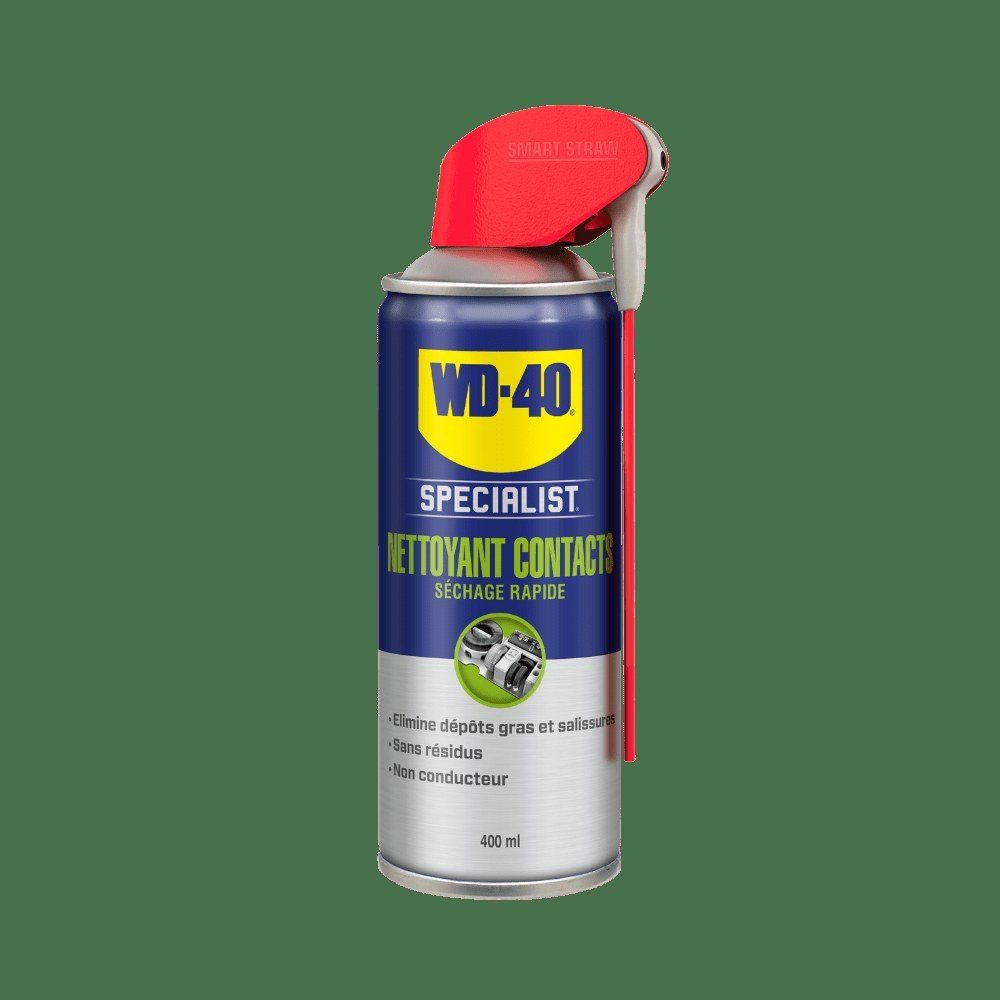
Clear remaining dust, residue and flux from the board and the edge connector with WD-40 Specialist Contact Cleaner. It evaporates fast, leaves no film and is safe on most plastics used in electronics. Spray a few times from 15-20 cm and let the board dry completely, a few minutes in a ventilated room.
Step 4
Restore solder joints (experienced users only)
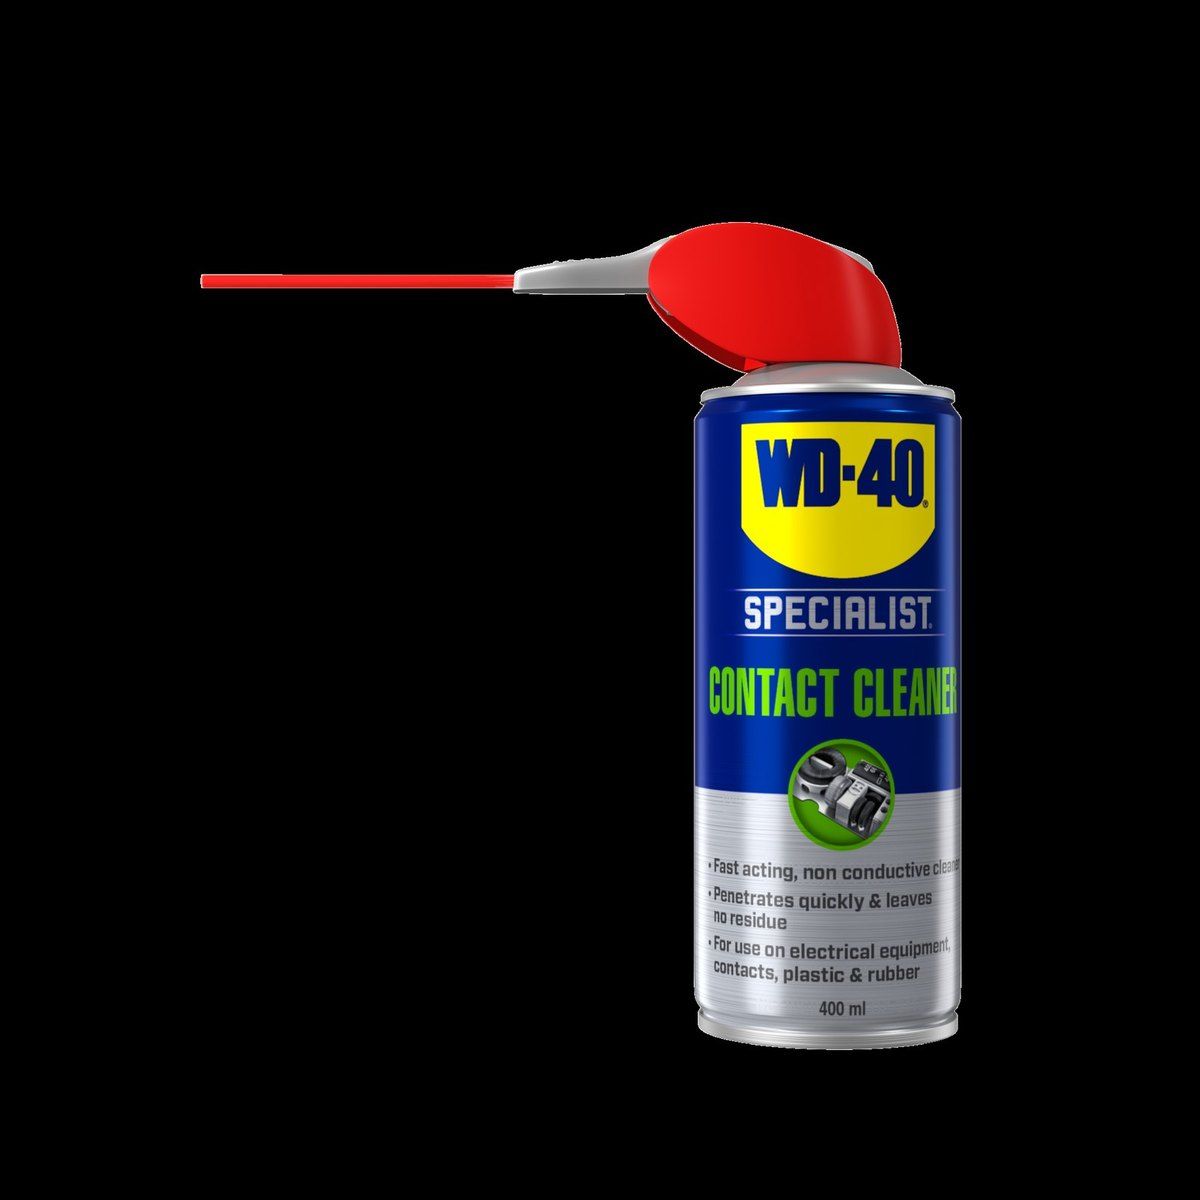
A common hardware cause is micro cracks in the solder under the graphics chip or memory. Heating and cooling cycles, oxidation and imperfect soldering loosen the joints over time. Repairers reheat these areas with a hot air station so the solder reflows and contact is restored.
This carries a real risk of overheating nearby components, so without experience it is better left to a repair shop. Baking the board in an oven is not a reliable method and should never be done in a kitchen oven used for food. After any reheating, let the card cool down fully.
Step 5
Reassemble and test
Apply a thin, even layer of fresh thermal paste to the graphics chip and check the thermal pads on the memory and power stages. Refit the cooler, tightening the heatsink screws gradually in a cross pattern.
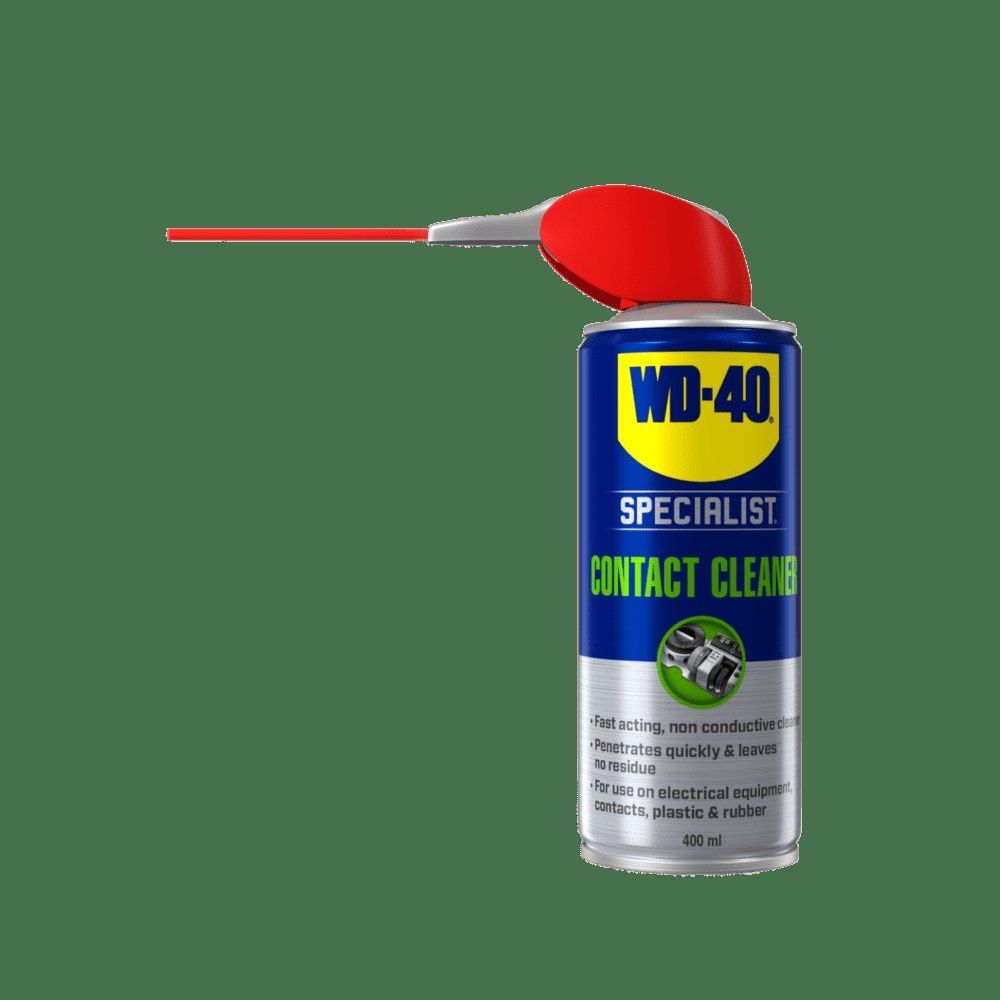
Before fitting the card, give its edge connector and the motherboard slot another pass of WD-40 Specialist Contact Cleaner and wait until dry. Install the card, connect power, start the PC and run a stress test for at least 15-20 minutes while watching the temperature in GPU-Z.
Tip: Many seemingly fatal artefacts are actually caused by an oxidised edge connector or dust in the slot. In damp rooms, such as a house that is only heated part of the year, simply removing the card, cleaning the contacts and refitting it is often enough to get a clean picture back.
What next
To extend the card's life, clean dust out of the case and cooler every 6-12 months and renew the thermal paste every 2-3 years or whenever load temperatures rise noticeably. Keep WD-40 Specialist Contact Cleaner to hand for the rest of the computer's connectors too.
These uses come from the experience of WD-40 users in many countries. Always follow the instructions and warnings on the product label.
More guides in «How to use».