It is a classic: you turn the key or press the start button, you hear a click, but the engine will not turn over. The battery is the first suspect, but if it is properly charged, the cause is often the starter motor. Powered by the battery, it spins the crankshaft until the engine fires.
Replacing a starter motor takes some experience and basic mechanical knowledge. In Ukraine the starter lives a hard life: road salt and slush in winter, mud in spring, damp in autumn. As a result the housing and connections get clogged with dirt, bolts seize and contacts oxidise. Below we explain how to prepare, remove, test and refit the unit.
What you will need
Important: Before removing the starter, rule out other causes: check the battery charge and terminals, the starter circuit fuse and relay, and the ignition switch. If turning the key gives only a click and the dashboard lights dim, the problem is usually the battery or its terminals rather than the starter.
Step 1
Prepare the car and disconnect the battery
The starter is usually located low down on the engine, so the car needs to be raised and securely placed on axle stands. Make sure it is completely stable before you get underneath.
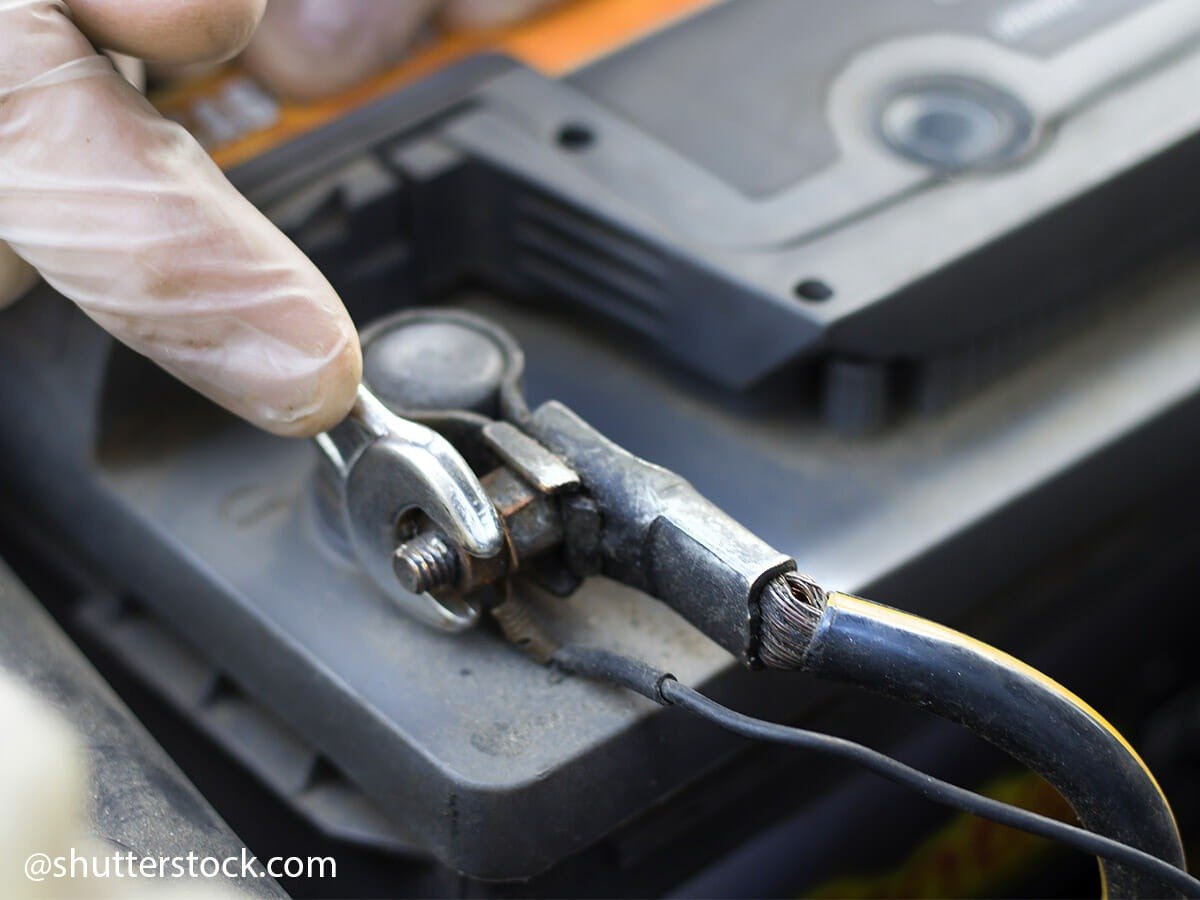
Disconnect both battery terminals, negative first. This prevents short circuits, as a thick unfused power cable runs to the starter.
Clean the starter and the area around it of dirt, oil and road salt with WD-40 Specialist Degreaser. It quickly dissolves grease and leaves no film, so you can see the mountings, wiring and any damage more clearly.
Step 2
Remove the starter motor
Check beforehand that you have all the spanners and sockets you need. On most cars the starter is reached from underneath, but on some models it is easier to work from above, under the bonnet, and you may need to remove nearby parts temporarily.
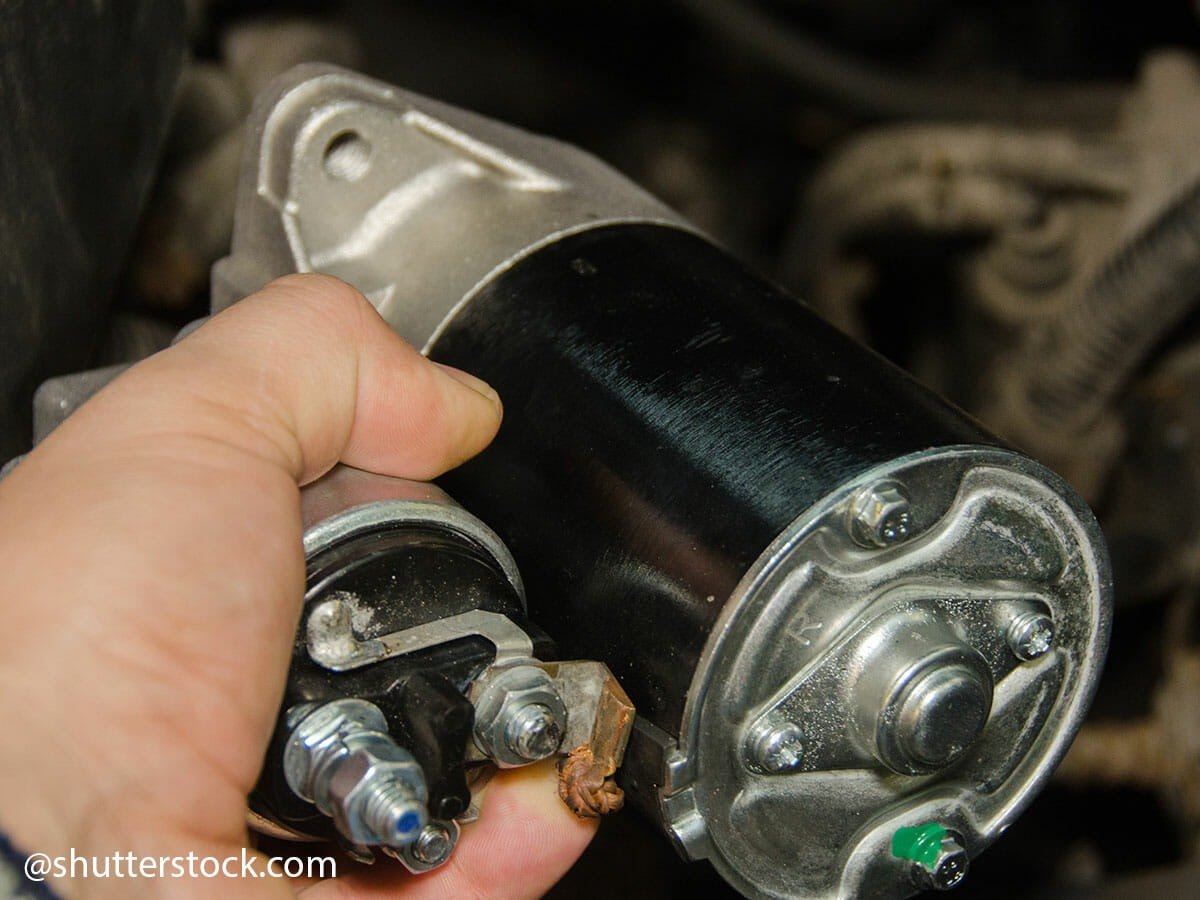
First disconnect the thick power cable from the battery, then the thin control wire to the solenoid. Take a photo of the wiring so you do not get it wrong when refitting.
Starter mounting bolts often seize because of moisture and salt. Spray them with WD-40 Specialist Fast Release Penetrant, wait a few minutes and undo them with steady force rather than jerks. Support the starter with your hand as you remove the last bolt, as it is fairly heavy.
Step 3
Test the starter before replacing it
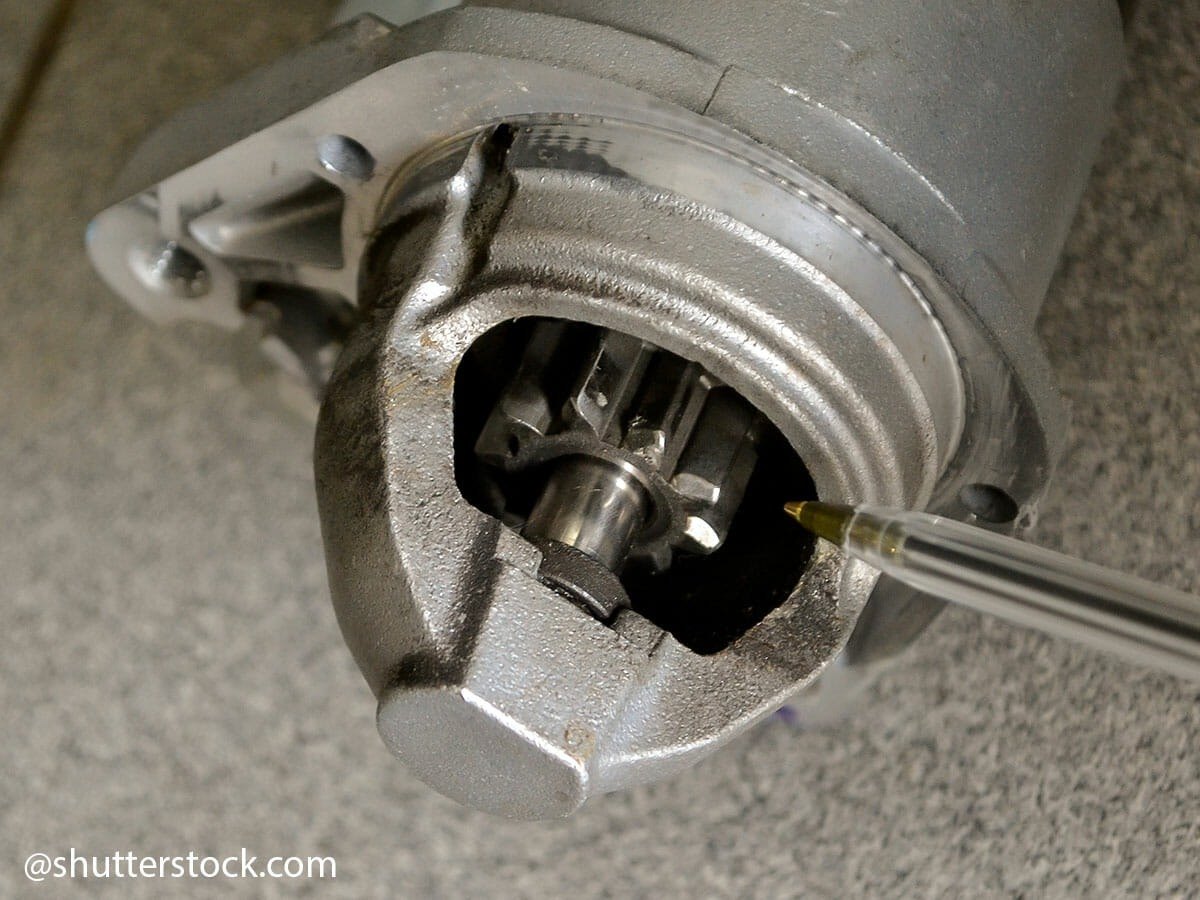
Do not rush to buy a new unit. Inspect the pinion gear: there should be no broken or badly worn teeth. Also look at the flywheel ring gear through the mounting opening.
Check the solenoid and the starter motor itself. Use two leads from a charged battery: connect the negative to the starter's metal housing and the positive to the solenoid's main terminal, then briefly feed positive to the control terminal. A healthy starter throws the pinion out sharply and spins confidently. Keep the unit firmly secured and wear safety glasses.
Clean the terminals and cable ends with WD-40 Specialist Contact Cleaner, which removes oxidation and moisture and dries quickly. Sometimes the fault is simply a corroded contact, and the starter comes back to life after cleaning.
Step 4
Refit the starter motor
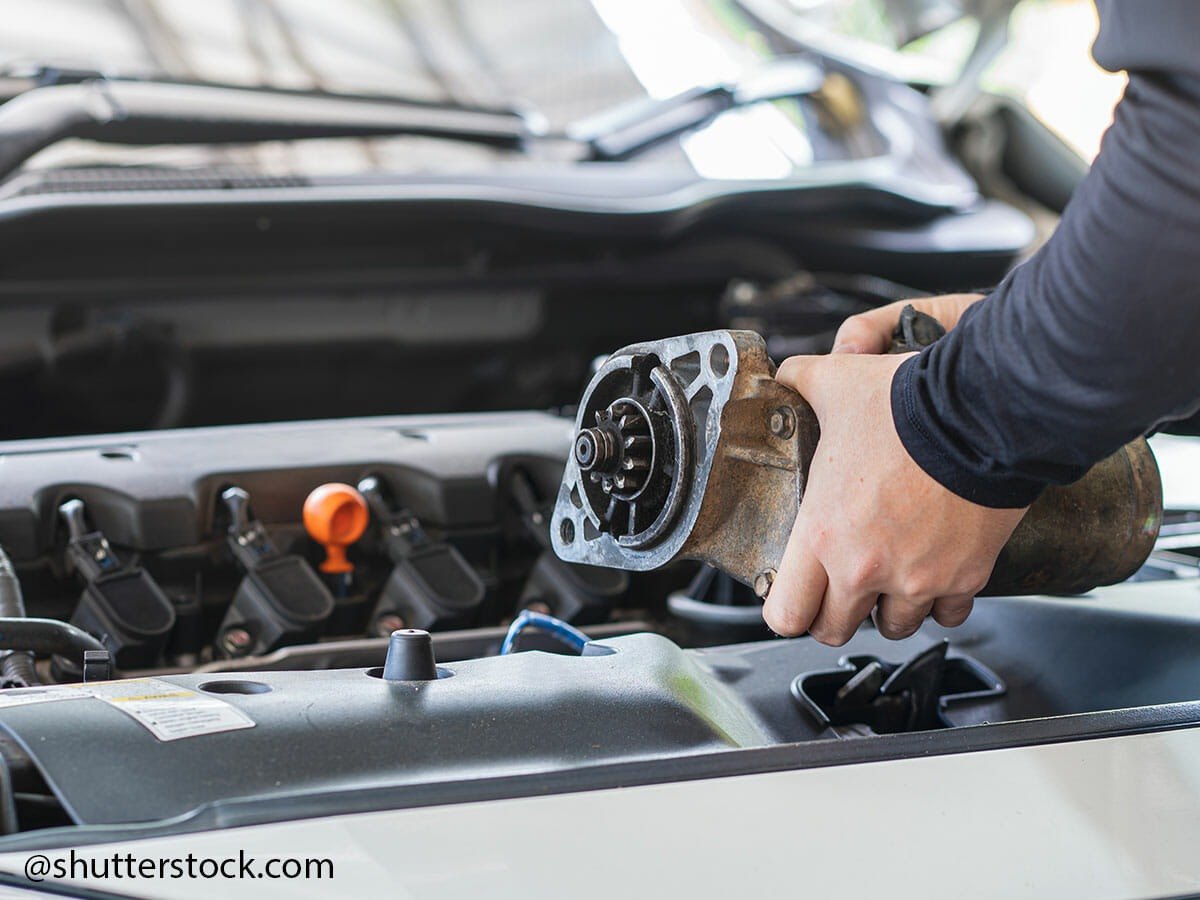
Refitting is the reverse of removal. Place the starter in its mounting position, start the bolts by hand and tighten them with a torque wrench to the torque specified by the car manufacturer.
Reconnect the control wire and the power cable, treating the cable ends with contact cleaner first. Refit all parts you removed, reconnect the battery (positive first, then negative) and check that the engine starts.
Tip: If the click only happens now and then, start with the cheaper fix: clean the battery terminals, the earth strap to the body and the solenoid connector, then treat them with contact cleaner. This is often enough to avoid replacing a perfectly good starter.
What next
After the replacement, inspect the starter and wiring once a season, especially before winter, remove dirt and salt with degreaser and treat the connections with contact cleaner. The golden rule: diagnose first, replace second, and always use solid axle stands.
These uses come from the experience of WD-40 users in many countries. Always follow the instructions and warnings on the product label.
More guides in «How to use».