Changing a blown bulb used to take two minutes. Modern cars are more compact, so the battery, air filter or even the bumper often get in the way of the back of the headlight. There are also several bulb types now, halogen, LED and xenon, and each has its own quirks.
Cold, wet winters and road salt speed up corrosion on the contacts. With the right tools and order of work, most bulbs can be replaced at home.
What you will need
Important: Switch off the lights and ignition before starting. Never touch the glass of a halogen bulb with your fingers: skin oil causes overheating and early failure. Xenon bulbs run at very high voltage on ignition, up to 25,000 V.
Step 1
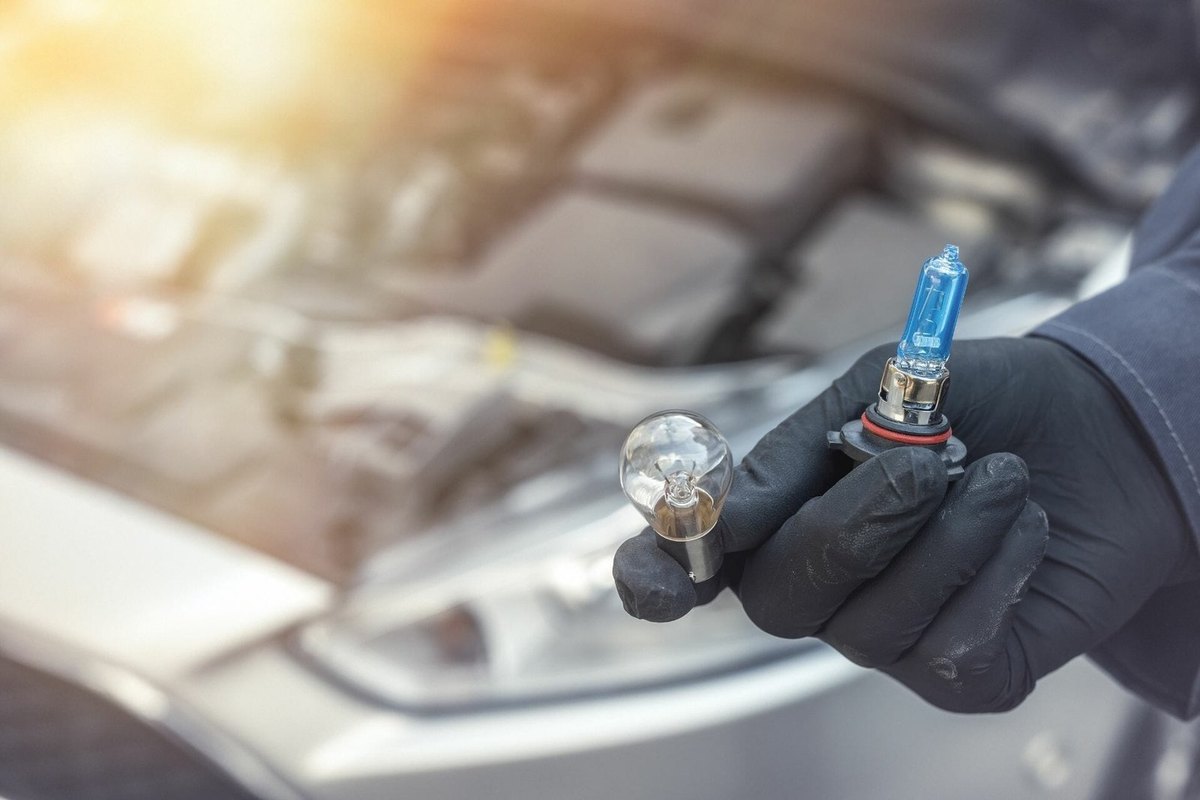
Identify the bulb type
Start with the owner's manual, which lists the bulb type for each lamp and how to change it. Halogen, LED and xenon bulbs are fixed differently, and the wrong bulb can give poor light, dazzle other drivers or damage the electrics. The easiest option is to take the old bulb with you to the shop.
Step 2
Get to the bulb housing
The bulb sits in a holder at the back of the headlight. If other engine bay parts block access, remove them carefully and note or photograph what you disconnected and in which order. Sometimes special tools are needed.
The holder is closed with a dust and water cover, either a hard plastic cap or a rubber boot. Pull or twist it off and you will see the power connector and the bulb clips.
Step 3
Remove the blown bulb
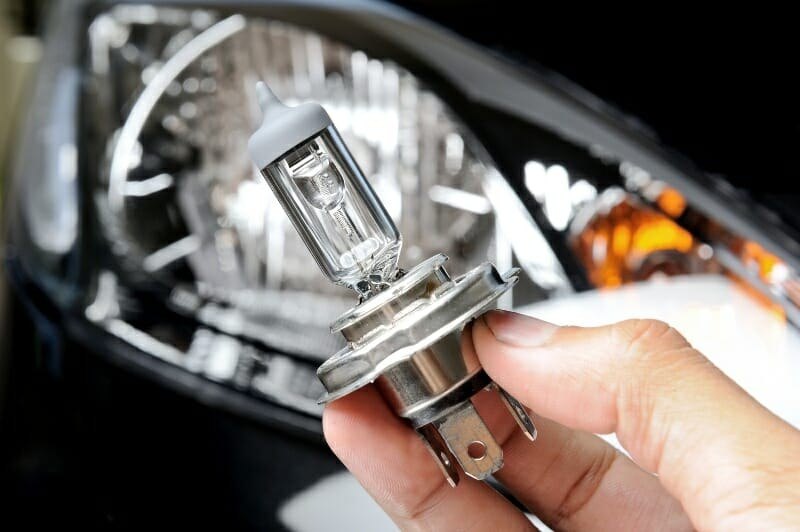
Unplug the connector from the bulb base: a little hand pressure is usually enough. A halogen bulb is held by two spring loaded metal clips: release them and carefully lift the bulb out by its base, noting the position of the contacts. LED bulbs are usually locked by a quarter turn anticlockwise.
Step 4
Fit the new bulb
Insert the new bulb in the same position as the old one, holding it only by the base, and refit the clips. LED bulbs are similar but usually have no clips.
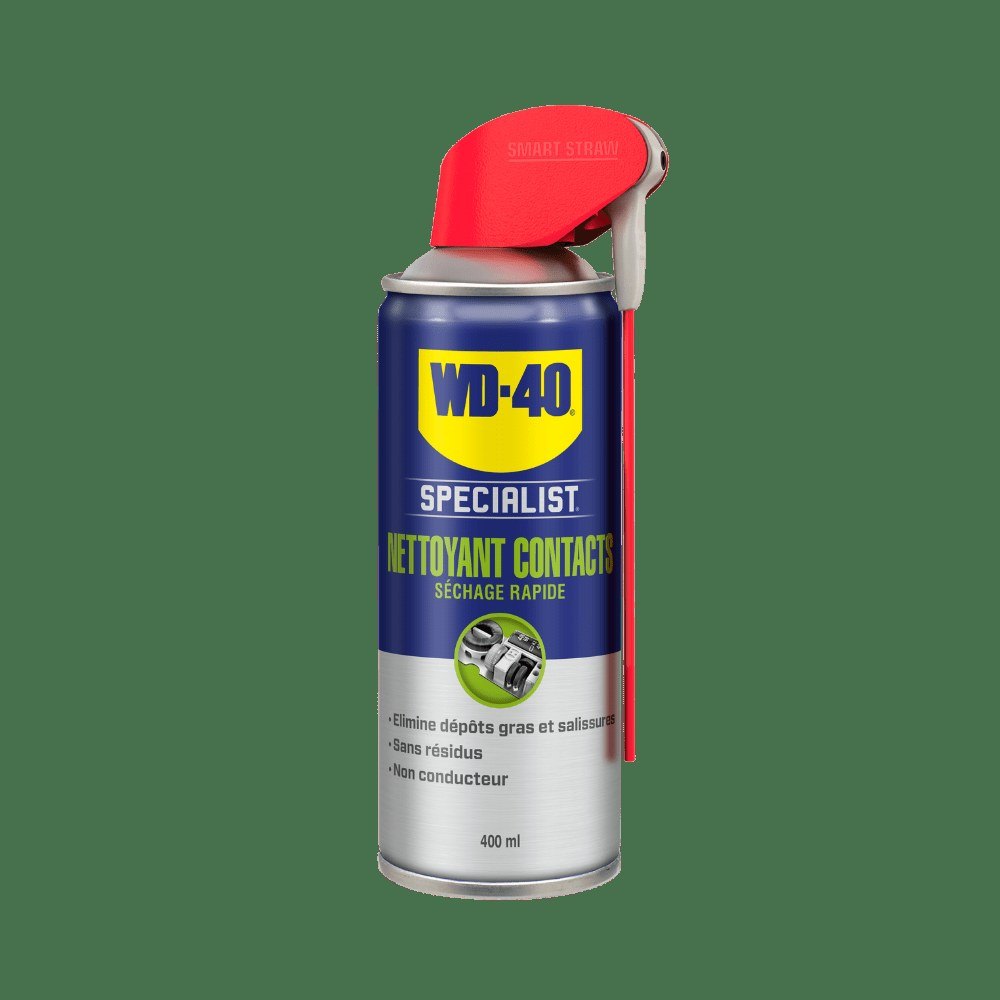
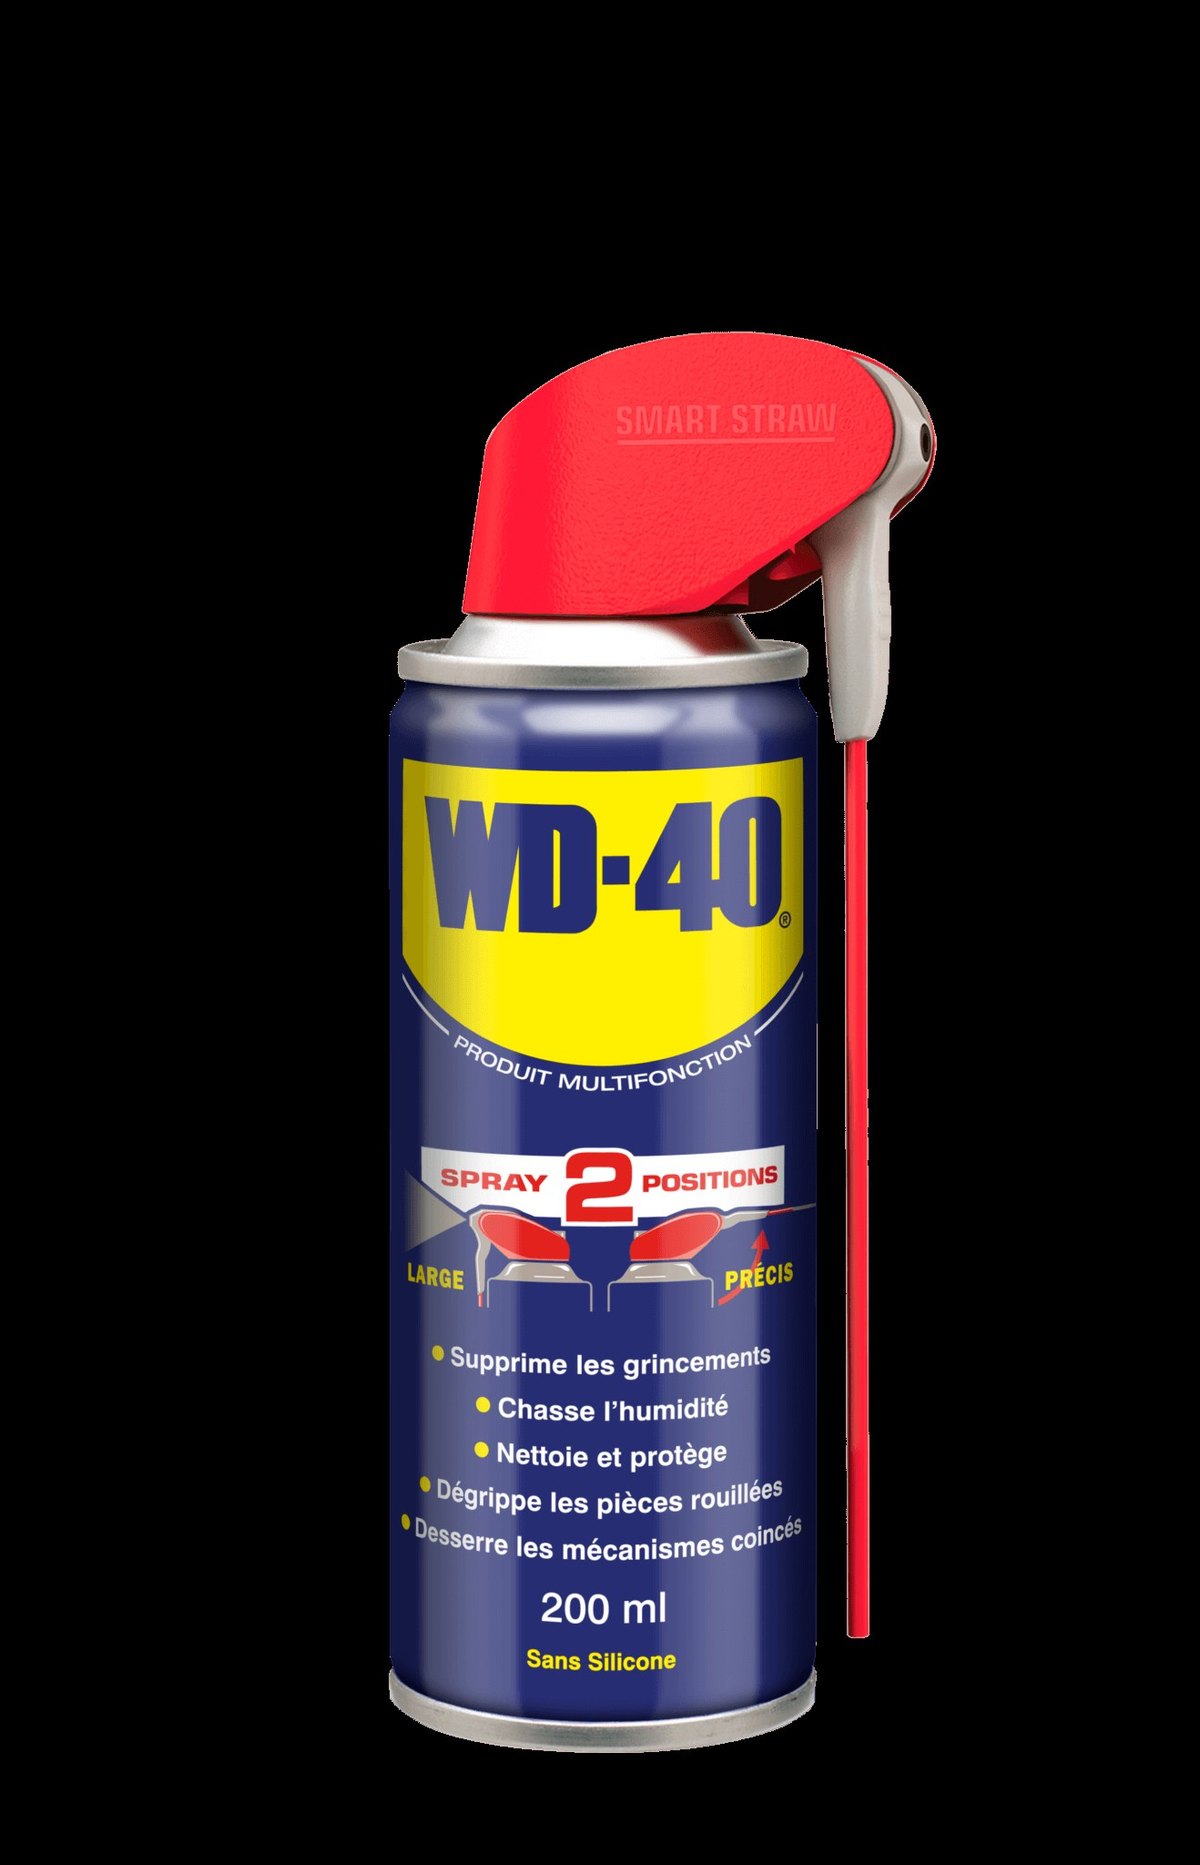
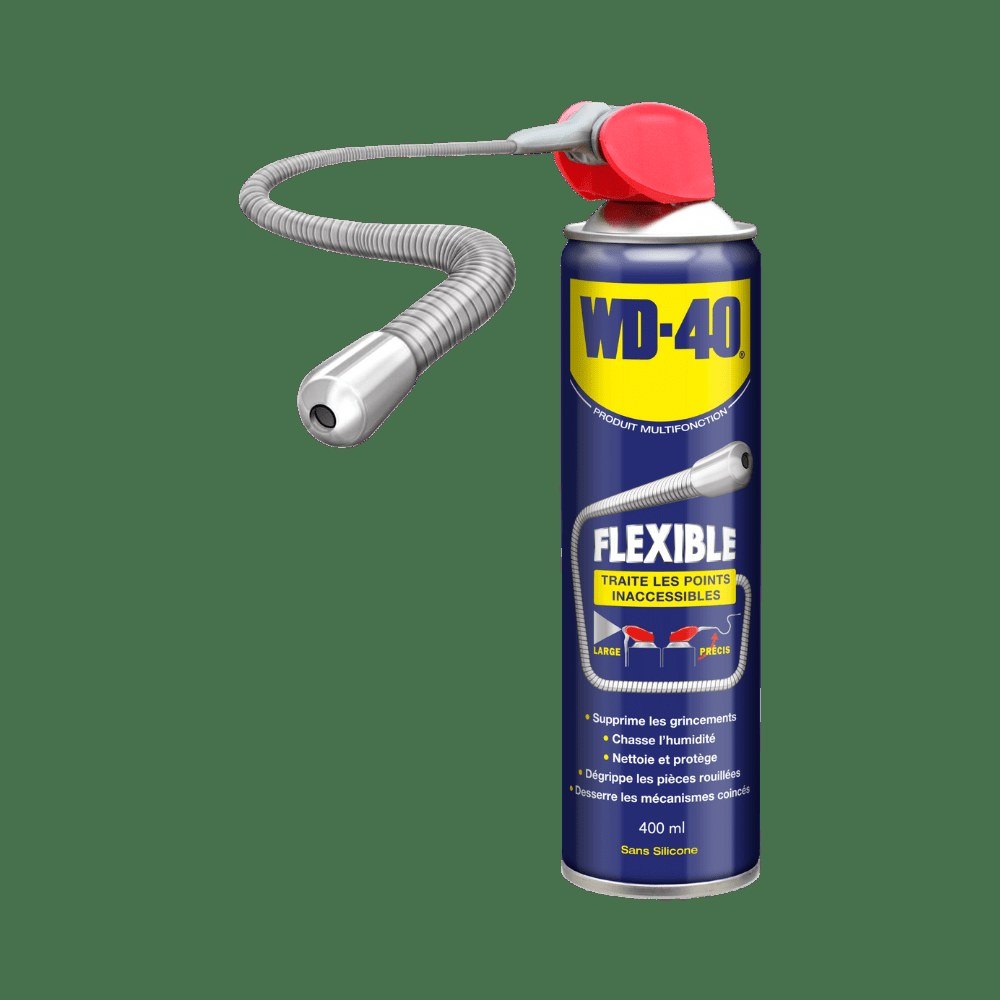
Before reconnecting the plug, treat both halves with WD-40 Specialist Contact Cleaner: it dissolves grease, oxidation and condensation, dries quickly without residue and restores a reliable connection. Give the rubber cap a light coat of WD-40 Specialist Silicone so it seals well and does not harden in frost.
Step 5
Check the beam
Switch the headlights on facing a wall 1 to 2 metres away and check that the beam is even and the light patch sits at the same height on both sides. The bulb position can shift slightly during replacement. Precise headlight aiming is done by a professional with special equipment.
Step 6
Special case: xenon bulbs
A xenon bulb is connected to its ballast by a high voltage cable. Before starting, remove the headlight fuse or disconnect the battery, bearing in mind that some vehicle settings may reset. Then remove the sealed cover, unplug the high voltage cable, turn the bulb 1/6 of a turn anticlockwise and remove it. Fit the new one in reverse order.
Tip: Replace dipped beam bulbs in pairs: the second usually fails soon after the first, and new bulbs match in colour and brightness.
What next
Check all your lights at least once a month and always before winter. Once a year, clean the headlight and tail light connectors with WD-40 Specialist Contact Cleaner, especially after the road salt season.
These uses come from the experience of WD-40 users in many countries. Always follow the instructions and warnings on the product label.
More guides in «How to use».