A CV (constant velocity) joint connects the driveshaft to the wheel and transmits torque even when you steer and the suspension moves. Inside a steel housing, balls let the shaft work at an angle, and the cavity is packed with a special molybdenum disulphide grease that lasts for years.
On the shaft side the joint is covered by a rubber boot held by two metal clips. It keeps water, dirt and salt out and the grease in. Once the boot splits, grease escapes, grit gets in and within a few thousand kilometres an expensive joint is ruined. Replacing the boot in time costs far less.
What you will need
- new CV boot kit with clips
- dedicated CV joint grease with molybdenum disulphide
- jack and solid axle stands
- set of spanners, clip pliers
- CV joint puller or boot expander (depending on the method)
- WD-40 Specialist Penetrant
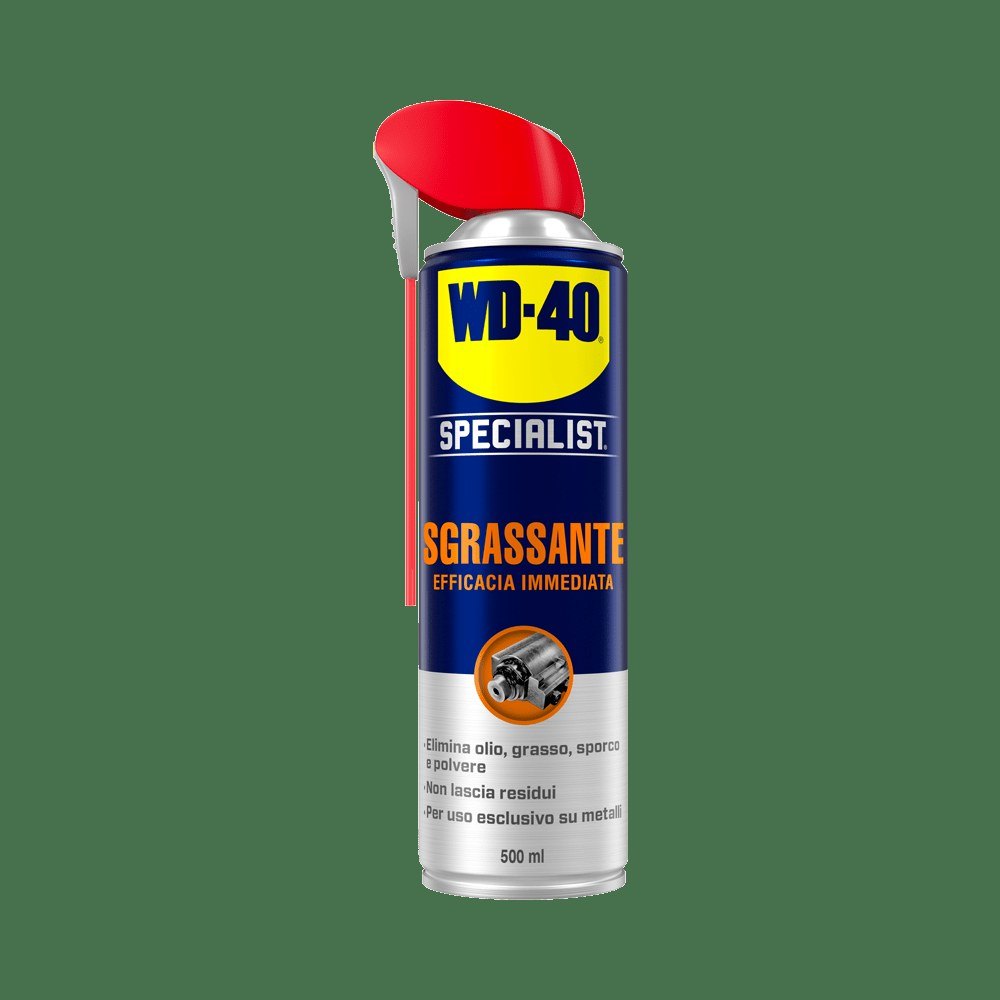
- WD-40 Specialist Degreaser
- rags, gloves and safety glasses
Important: Support the car only on solid axle stands and never work under a car held by a jack alone. Keep degreaser, penetrant and CV grease off the brake discs and pads. If you disconnect a brake hose, the brakes must be bled and tested after reassembly.
Step 1
Check the boot condition
Signs of a damaged boot and joint include metallic clicking when turning, steering wheel vibration on the move and the car rocking even on a smooth road. Inspect the boots visually while turning the wheel from lock to lock.
Look for cracks, splits and loose or missing clips. Often the boot, shaft and joint housing are covered in escaped grease. If the joint is already clicking, replace the joint along with the boot.
Step 2
Split boot: the quick method
The simplest option suits an older car that covers few kilometres. A split boot has a lengthwise seam, so it can be wrapped around the shaft without removing the joint and bonded with special adhesive.
Clean the shaft and old boot with WD-40 Specialist Degreaser, which quickly removes grease, oil and dirt without leaving residue. Cut off the clips with pliers, slit and remove the old boot and clean again. Fit the new boot, apply adhesive along the seam, join the edges and after a few minutes slide the boot towards the joint.
Step 3
Repack with grease and fit the clips
Before securing the boot, replace the lost grease using only dedicated CV joint grease, often supplied in the boot kit. Use the quantity stated in the kit instructions.
Seat the boot correctly in the grooves on the joint housing and shaft and tighten both clips with pliers.
Step 4
Boot expander: without removing the joint
This more professional method lets you fit a one-piece boot without removing the joint. Raise the car onto stands, remove the wheel and brake caliper, and unclip the brake hose, ABS sensor lead and pad wear sensor, if fitted.
Treat seized nuts and bolts with WD-40 Specialist Penetrant: it penetrates corrosion quickly, even in tough cases. Remove the old boot, clean the joint, load the new boot onto a pneumatic expander that stretches it over the joint housing. Then grease, clip and reassemble in reverse order.
Step 5
The classic method: removing the joint
Most workshops use this method, and it is also a chance to inspect the joint and replace it if necessary. Expose the joint as in the previous step and pull it off the shaft with a CV joint puller, a shaped screw clamp with a long threaded rod that provides the required force.
Clean the shaft with WD-40 Specialist Degreaser, slide on the new boot, refit the joint, pack it with grease and secure the boot with clips. Refit the brake assembly and wheel and torque the bolts to specification.
Step 6
Check the result
Take a slow test drive with turns in both directions: the clicking and vibration should be gone. Check the boot again after a few dozen kilometres for any traces of grease.
Threaded joints you had to undo can be protected from corrosion with a thin coat of WD-40 Smart Straw, keeping it off the brakes and the new boot.
Tip: On Ukrainian roads in winter, boots suffer from frost and salt, so the rubber hardens and cracks sooner. Inspect them every time you swap seasonal tyres: five minutes of checking can save a CV joint.
What next
Check CV boots twice a year and after driving off-road. For other seized nuts and bolts on the running gear, keep WD-40 Specialist Penetrant in the garage.
These uses come from the experience of WD-40 users in many countries. Always follow the instructions and warnings on the product label.
More guides in «How to use».